
Trust your data.
Whether you’re looking to optimize the performance of your email marketing, data management or sales functions, Validity is your trusted partner to ensure you’re reaching who you need to.


Thousands of companies rely on Validity to grow faster with better data.


Get more from your data with Validity.


Clean your Salesforce data faster.
DemandTools by Validity is the secure data quality platform that enables organizations to clean and manage Salesforce data in less time, enabling everyone to do their jobs more effectively, efficiently, and profitably.

Your email deliverability insurance policy.
Every year, millions of emails end up in spam folders, damaging your sender reputation with Google, Microsoft, Yahoo, Apple and others, which will lead to even more emails marked as spam. With Sender Certification, we put millions of those emails back into the inbox and keep your reputation strong. On average, our customers get 27 million more emails to the inbox each year.


Email verification for the serious marketer.
BriteVerify is the industry’s longest standing and most complete email and contact verification solution. Our technology allows you to gather real contact data at the point of collection paired with the ability to check your data at any time – protecting customer experience and your email reputation.

An email success platform like no other.
Created by the most respected pioneers of email optimization and deliverability, Everest is the absolute pinnacle of email marketing–the only solution in the world that gives you full control of all critical stages of email marketing: pre-send prep and creation, in-flight optimization, and post-send monitoring.


The most productive user experience for CRM.
Transform how you interact with your data through the versatility of grids. Create a clear, informative way to interact with your data for more productive end users and a more predictable business

Inspiration for email and SMS campaigns.
MailCharts is the campaign inspiration platform that gives digital marketers industry insights and ideas to create email and SMS communications that capture attention and grow sales.

Our customers love us.
“What DemandTools can do versus what other platforms on the market can do is night and day. The quality of the management is just different.”
Angela Henkel
Director of Marketing Operations, Ridecell

“People are spending hundreds of thousands, if not millions, of pounds on their email programs. With Validity, you’re paying a small fraction of that to protect these investments and protect one of your key marketing channels. I think you’d be crazy not to consider it.”
Jonathan Kirk
CRM and Design Manager, Ice Travel Group
“Email deliverability can feel like a black box. But after Certification, our Microsoft inbox placement doubled overnight. ”
Danny LaForge
Manager of Loyalty and Analytics, Boot Barn
Committed to protecting your data.
Our trust has been built over two decades and we have the experience to prove it. We have worked with tens of thousands of customers spanning all industries, and we take our responsibility to protect the data you entrust to us very seriously.


Webinars

May 22, 2024 | 12pm ET • 5pm UK
Looking to get the truth about Proofpoint and navigate their filtering algorithms like a pro? Join us to deep dive into deliverability in this episode of State of Email.

June 4 | 12pm ET • 5pm UK
Join Validity’s in-house data expert, Olivia Hinkle, and Salesforce Ben’s Christine Marshall as they give expert insights on data management in 2024.

On Demand Webinar
Most brands understand that everyone wants to feel special. But in an uncertain economic climate with millions of competitors at every customer’s fingertips, it will take more than a free...
Resources
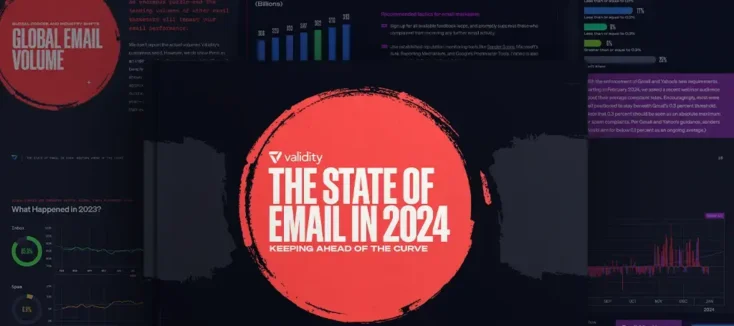
After an eventful 2023 filled with marketing landscape changes, privacy updates, AI domination, and more, we’re thrilled to share our expert predictions and forecasts to help you stay ahead of...
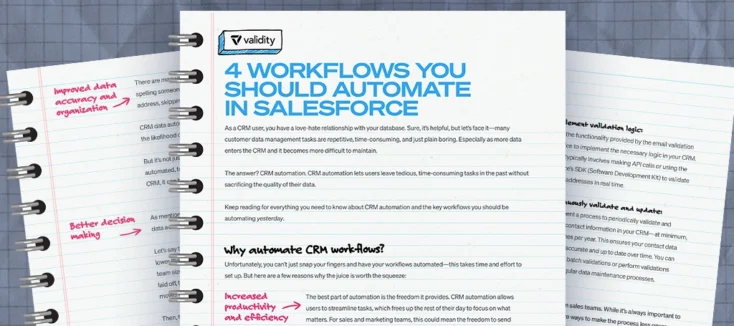
Let’s face it—many customer data management tasks are repetitive, time-consuming, and just plain boring. Especially as more data enters the CRM and it becomes more difficult to maintain. The answer?...
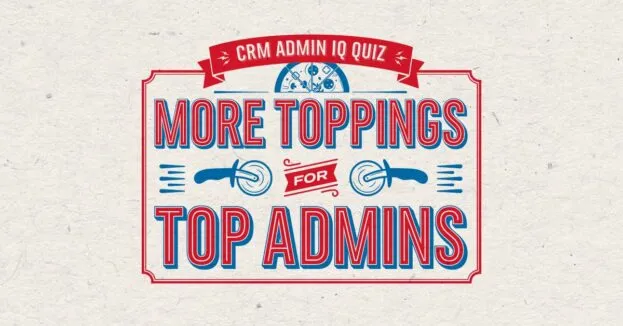
Wondering if you have what it takes to tackle the latest challenges of CRM data administration? Take this 15-question quiz and put your skills to the test.